

Step 1: Measure your mattress and cut the ply wood to the width of you mattress. Determine the height you would like, factoring in that the 2x4s will be the legs. Screw the 2x4s into the plywood around the perimeters of the board, leaving extra length for the legs.
Step 2: Cut the piece of foam (using scissors or an exacto knife) to the same size as your ply wood. Using a spray adhesive, glue the foam onto the flat edge of your ply wood. Once the glue is dry, place a large piece of cotton batting over the foam and staple it along the 2x4s at the back of the board. This just adds an extra layer around the edges.

Step 3: Once the foam and the cotton batting is securely in place, you are ready to add the material. We picked out a cream coloured cotton/canvas material and purchased enough material so that we could cut a panel to staple onto the back, as the last step once we had completed the tufting.

Step 4: This was actually the hardest step -the tufting! Figure out where you want to place the buttons and mark the back of the board. Once you have it all marked, drill small holes through the ply wood only. Using a long piece of wire, poke it through the hole and have someone on the other end place the button on the wire (we used wooden buttons). Twist the wire together neatly so that you can send it back through the original hole. Have one person push hard on the button (I used the back of a screwdriver to push) while the other person twists the remainder of the wire around a nail until the button is well secured.
 |
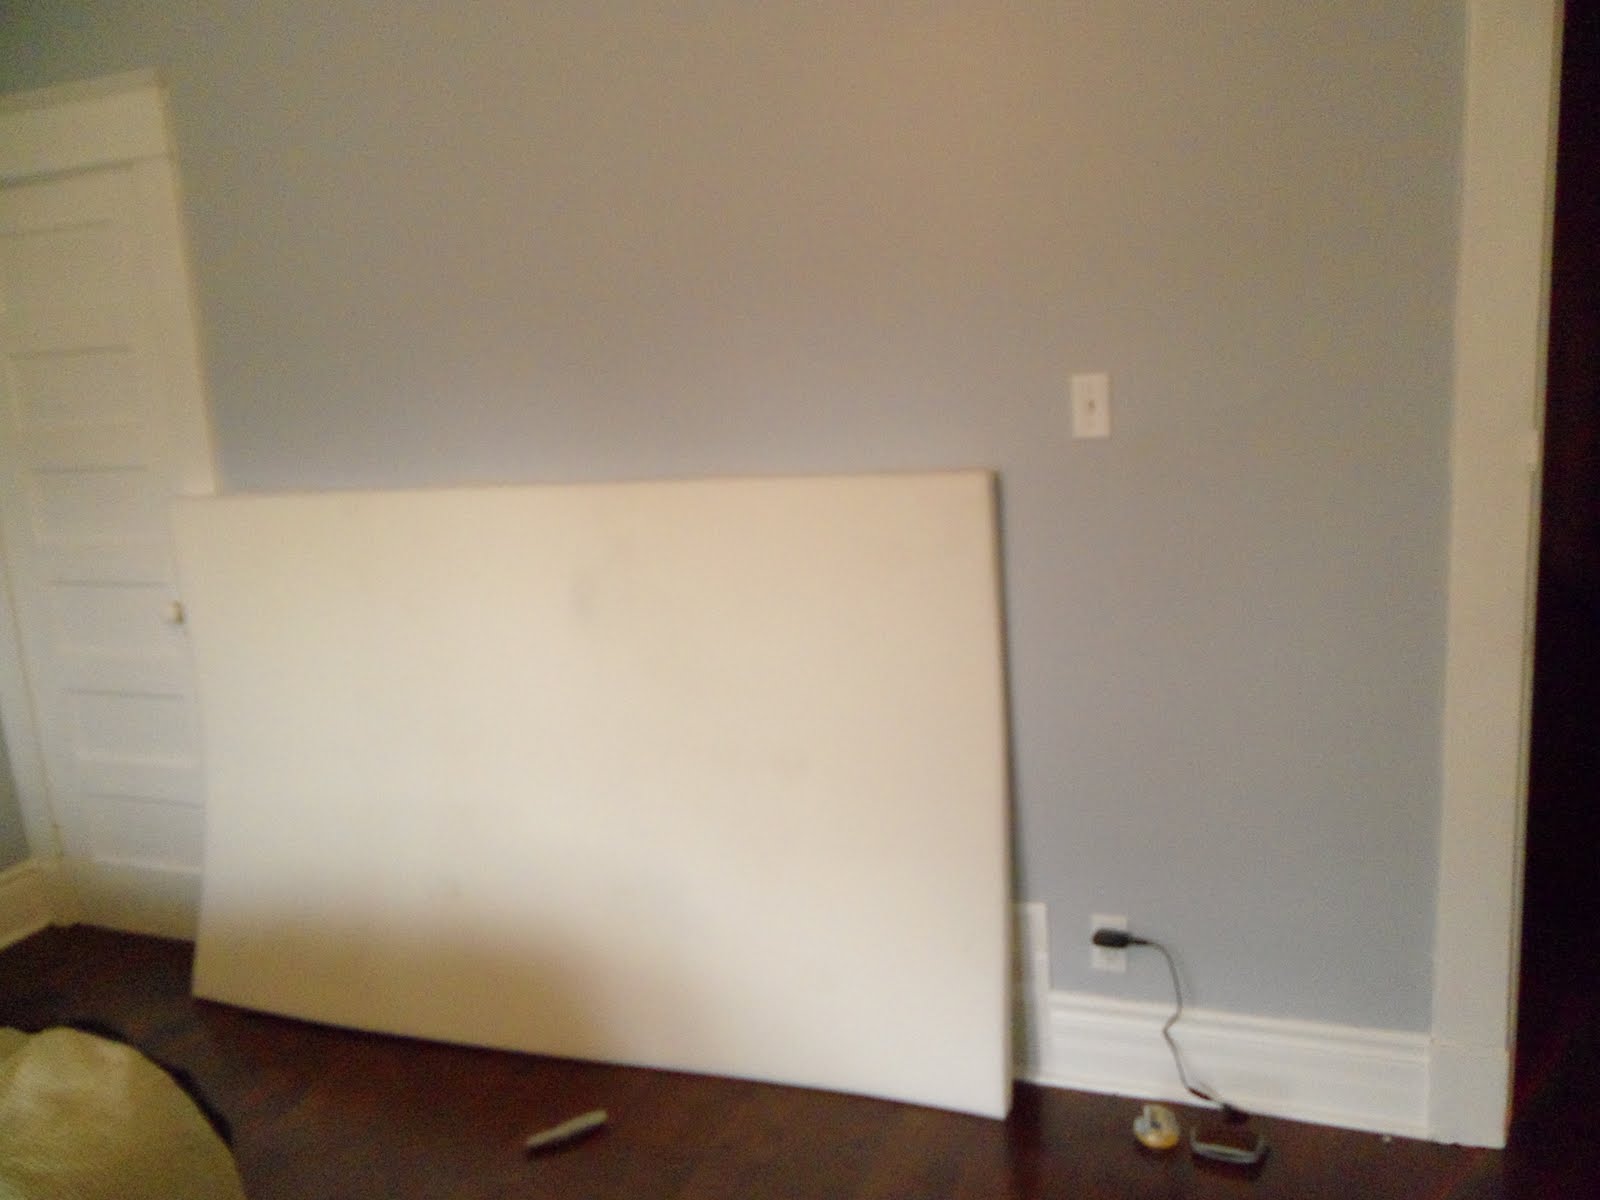
| DIY Upholstered headboard |
Voila! We have created a headboard much like the ones we saw in the stores or online. We did end up buying a metal frame (often thrown in by the mattress store when purchasing a new mattress -we negotiated pillows instead -oops). We attached the headboard to the frame and added a bed skirt that matches the colour of the head board. I will post the final picture in my upcoming post about the work we've done on the master bedroom.
Very clever project! Looks store bought!
ReplyDeleteThis comment has been removed by the author.
ReplyDeleteThanks for blogging this! This helped me out a lot- (or it will). My other half and I have a head board thats attached to our bed frame. It's a canopy style bed frame made out of wood, and we are constantly banging our heads on the back of it, and it hurts. We do this almost every night and never learn our lesson, so we were looking online for a DIY project for soft headboards. I'm going to be doing something similar to this on a smaller scale, then taking the foam, encased headboard on the thin plywood and drill it into/over the hard center of our headboard. Thank you so much for the tips, your head board turned out great!
ReplyDeleteWhere can i find Foam or spnoge?
ReplyDelete