 |
| Before |
 |
| Once removed |
 |
| New Plaster |
 |
| Complete |
I have been delaying this post because I think that baseboards are really boring. That said, they were a lot of work and actually made a big difference in each of the rooms that we have completed. Here is a simplified, step-by-step summary of the project (in my terms).
Step 1: Chris removed the old baseboards before we ripped up the floors. It was a painful job because they were the old thick wooden baseboards and were nailed in very tight with really long nails. He was also trying to be careful not to remove too much of the plaster from the walls and originally we thought we may want to reclaim them (in the end it was too difficult to save them).
Step 2: The second and third picture depicts my responsibility in the baseboard project. My job was to plaster and re-plaster all of the removed areas. In some cases, I slabbed on so much plaster and it likely would have been easier to cut a piece of drywall instead. Once the plaster was dry I had to sand and re-sand the surface area to make them as flat as possible for step 4.
Step 3: Cutting the baseboards. This was Chris' job and it was quite tedious. Because the walls are all different lengths, the boards will all need to be cut accordingly. Also, the ends need to be cut on an angle in order for the corners to match up.
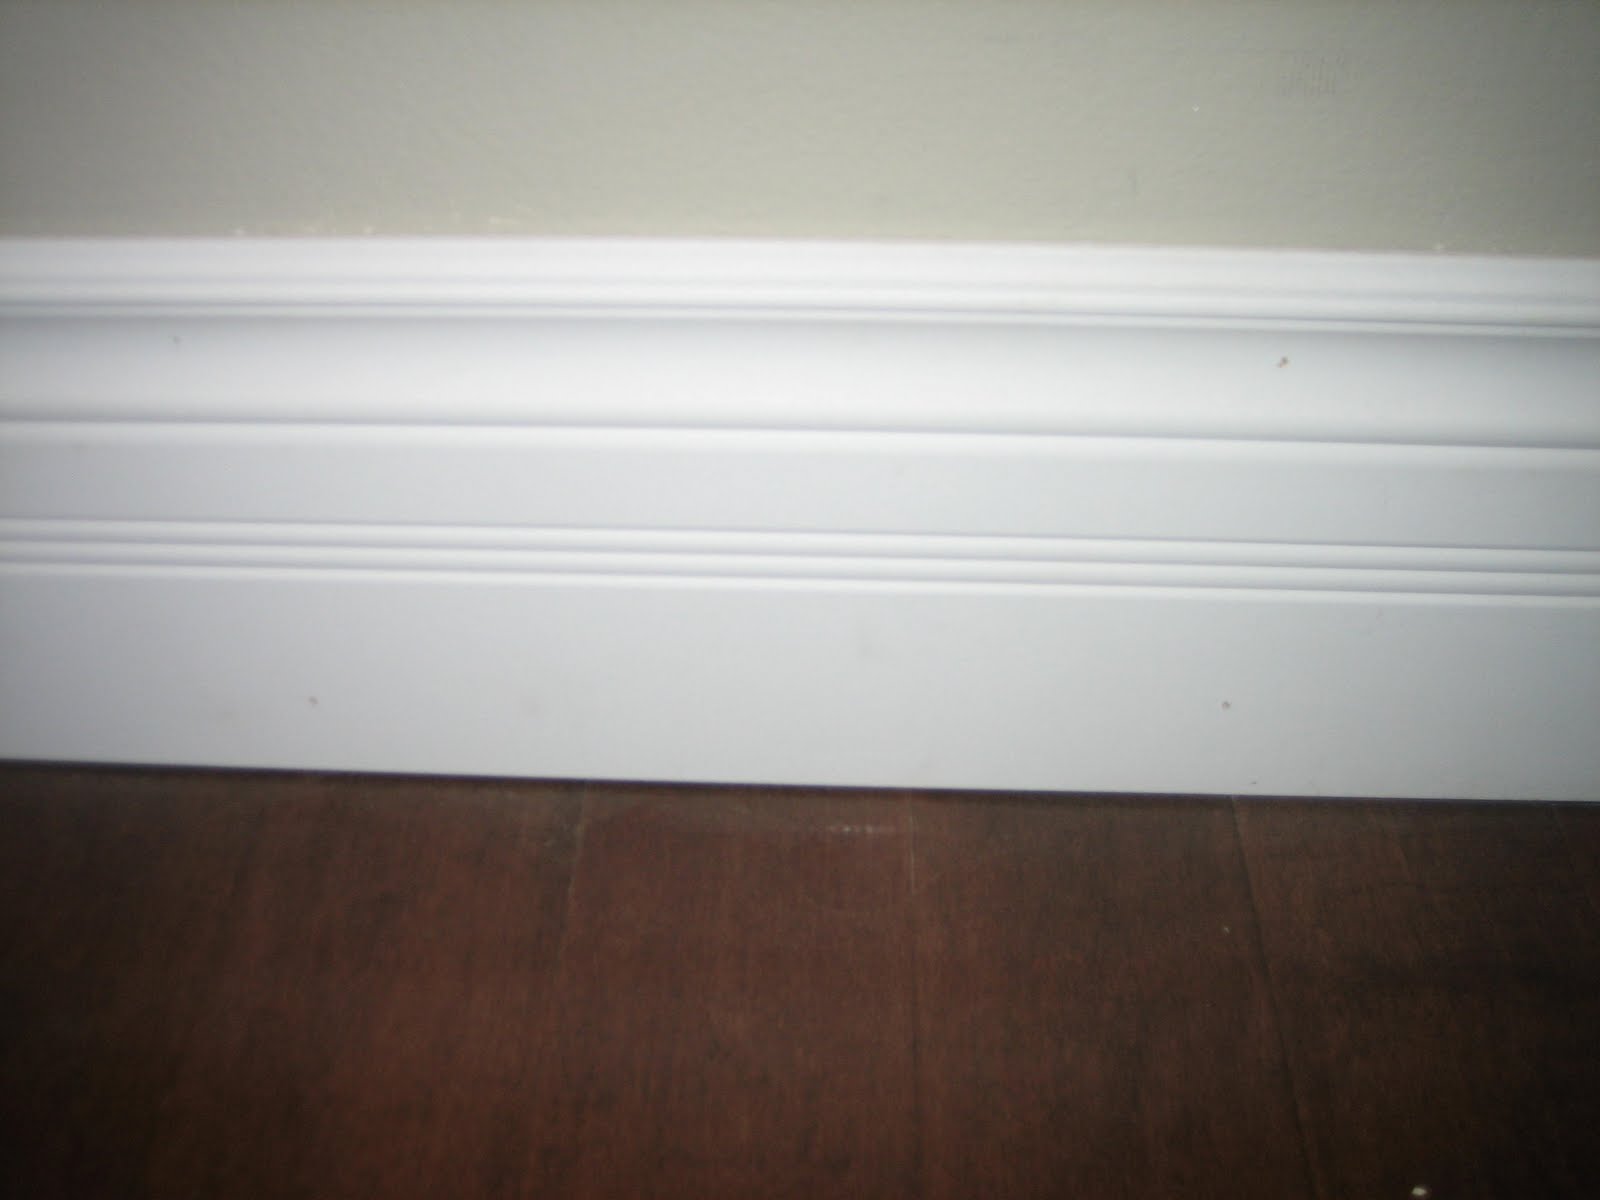
Step 4: Applying the baseboards. We went with the tall boards since we have nine foot ceilings and the old wood ones that we had just removed were also the tall ones. We used MDF (medium density fiberboard) rather that pine or other wood. The main reason is beause it was more affordable. I think it looks clean and nice. The caption on the last picture says "complete" but I am pretty sure we are adding a strip of quarter rounds which I will post at a later date.
Step 5: Caulking the baseboards. In order to hide the gap between the wall and the baseboards, we used caulking. Most home renovators would know about this magical white filler but it was news to me. Once the baseboards were caulked, they looked great and very professional.
Because the baseboard removal project was such a pain, we decide to remove only the quarter rounds on the second floor, in order to prep for the new floors. That is, everywhere except for in the master bedroom. We will be putting new baseboards in the master bedroom soon (which still remains empty by the way). The "before" picture is from the second floor with only the quarter round removed.
Because the baseboard removal project was such a pain, we decide to remove only the quarter rounds on the second floor, in order to prep for the new floors. That is, everywhere except for in the master bedroom. We will be putting new baseboards in the master bedroom soon (which still remains empty by the way). The "before" picture is from the second floor with only the quarter round removed.
Nice work, that looks fantastic. I also really like the wall colour in the "Complete".
ReplyDelete